|
We harvest venison every year and
prefer canned instead of frozen. Canned venison is
delicious and doesn't take up space in the freezer. This
is how we can our venison . . .
1- We skin and butcher our own venison.
 We
remove the bones and cut the meat into one to three inch
cubes. Remove all the fat and gristle from the
meat. We usually bag the cubes up into large one gallon
zip-lock plastic bags. These bags can be kept in the
refrigerator for several days. We
remove the bones and cut the meat into one to three inch
cubes. Remove all the fat and gristle from the
meat. We usually bag the cubes up into large one gallon
zip-lock plastic bags. These bags can be kept in the
refrigerator for several days.
2- Canning meat is not hard work. It's time-consuming
but not hard. What you need to do most is watch and
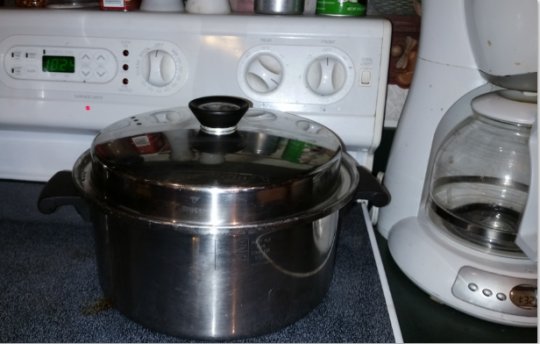
wait. We have two large Revere ware pots. I'm not sure
of the exact size, my wife thinks that they're at least
10 quarts each. We use them both when we can our
venison. Fill each pot half to three quarters full of
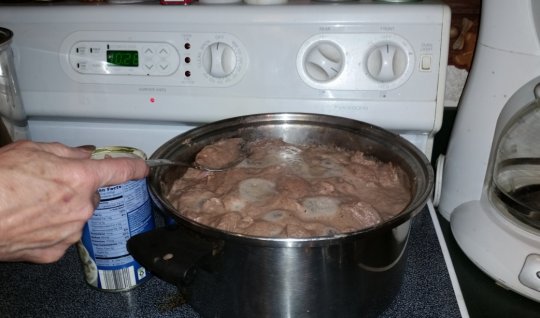
venison chunks. Cover with good clean water, bring to a
boil, skim
and remove any foam that comes to the top (removing this
foam is the main reason I do this extra step).
Cover, cook for about a half hour, until the meat is
browned outside but still red in center. Skim foam
occasionally as it
cooks.
Remove lid
occasionally and skim and discard foam. I'm discarding
the foam into the empty soup can. See photo below
. . .
3- Sterilize wide-mouth quart jars and lids. I figure
an average deer for ten to twelve quarts of canned
venison. I put one teaspoon of salt in the bottom of
each
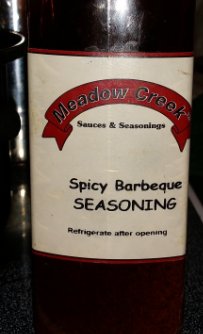
jar before adding juice and meat. (I also add a rounded
teaspoon of Meadow Creek Spicy Barbeque Seasoning powder that I
buy locally, this is an option.
(see photo)
 After
adding the salt to the bottom of each jar, I add a scoop of
the juice and swirl it
around a little to mix with the salt (use the juice that
the meat was cooked in). Pack meat firmly into the jars, then
cover the meat with
more juice from the pre cooked meat but keep the top level a
little over an inch from the top of the jar. Wipe
the threads and the top of jars with a sterile cloth, apply caps
and rings. Screw rings down firmly but not tight, air
will vent from jar while in pressure canner. After
adding the salt to the bottom of each jar, I add a scoop of
the juice and swirl it
around a little to mix with the salt (use the juice that
the meat was cooked in). Pack meat firmly into the jars, then
cover the meat with
more juice from the pre cooked meat but keep the top level a
little over an inch from the top of the jar. Wipe
the threads and the top of jars with a sterile cloth, apply caps
and rings. Screw rings down firmly but not tight, air
will vent from jar while in pressure canner.
4- Put jars into a pressure canner (ours holds seven
quart jars). Follow your pressure canner's instructions
for canning meats. There must be some water in the
cooker, I add about an inch to mine. The jars shouldn't
set directly on the bottom of the canner, most pressure
canners come with a plate that keeps the jars slightly
off the bottom.
We cook at 15 pounds pressure for a full hour.
Turn heat off and let the pressure canner cool
normally, do NOT quickly release the pressure, this
could
possibly
fracture the jars and ruin your meat. It
will take almost an hour for the pressure cooker to
cool normally. Just sit and relax for a while while
it's cooling. However, while it's cooling, you should prepare seven more jars
of venison to be ready for the pressure canner as soon
as it's empty.
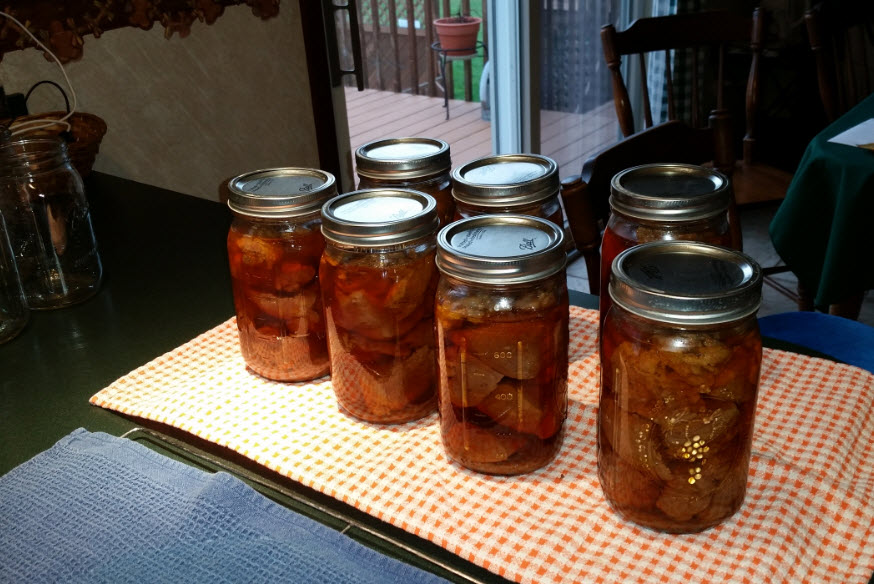
5- Remove hot jars from pressure canner, set them in
a safe place to allow them to cool normally. The lids
should pop inward as they cool. By now you
should have seven more jars all packed and ready for the pressure
canner.
6- After jars cool store them in a cool dry
place out of sunlight. We keep ours on shelves in our
basement. As long as these jars seal properly they will
keep well for over a full year. Keep jars in
refrigerator after they're opened.
Venison, when stored this way, can be used in venison
stew, sliced and heated and used in sandwiches, ground
and used in chili or spaghetti sauce, or just heated and
eaten the way it is . . .
as
|

![]()
![]()
![]()
![]()
![]()
![]()
![]()
![]()
 We
remove the bones and cut the meat into one to three inch
cubes. Remove all the fat and gristle from the
meat. We usually bag the cubes up into large one gallon
zip-lock plastic bags. These bags can be kept in the
refrigerator for several days.
 After
adding the salt to the bottom of each jar, I add a scoop of
the juice and swirl it
around a little to mix with the salt (use the juice that
the meat was cooked in). Pack meat firmly into the jars, then
cover the meat with
more juice from the pre cooked meat but keep the top level a
little over an inch from the top of the jar. Wipe
the threads and the top of jars with a sterile cloth, apply caps
and rings. Screw rings down firmly but not tight, air
will vent from jar while in pressure canner.
